Kubernetes has become the default way to run containerized applications at scale, but building a Kubernetes cluster from scratch is still where a lot of engineers get stuck the first time around, not because the concepts are hard, but because the tooling assumes you already know which of the dozen configuration steps actually matter.
This kubeadm guide walks through building a production Kubernetes cluster using kubeadm, the official bootstrapping tool, covering infrastructure planning, control plane setup, worker node configuration, networking, and the operational details most tutorials skip.
We’ll be building a cluster with one control plane node and multiple worker nodes, using containerd as the container runtime and Calico for pod networking, running current Kubernetes 1.36.
Choosing Your Infrastructure Before You Start
Before writing a single command, decide where your cluster will actually run. This decision affects performance, cost, and long-term flexibility more than almost anything else in this guide.
Managed Kubernetes services (EKS, GKE, AKS) handle the control plane for you, but they come with a real per-cluster cost and less control over the underlying hardware.
For teams that want full control, predictable pricing, and the ability to tune performance at the hardware level, building your cluster on dedicated server hosting is a common and cost-effective alternative. You get consistent CPU and network performance without the noisy-neighbor issues that can come with shared cloud instances, and no per-cluster management fee eating into your budget.
If your workloads involve machine learning, model training, or GPU-accelerated inference alongside your regular services, running at least some of your worker nodes on a GPU dedicated server is worth planning for from the start.
How to Build a Kubernetes Cluster: Step-by-Step Guide
To install a Kubernetes cluster on Ubuntu 24.04, start by disabling swap and loading required kernel modules (overlay, br_netfilter) on every node, then install containerd as the container runtime and configure it with SystemdCgroup = true.
Then, add the official Kubernetes APT repository and install kubeadm, kubelet, and kubectl on all nodes. On the control plane node, run sudo kubeadm init --pod-network-cidr=192.168.0.0/16 to bootstrap the cluster, configure kubectl access, and install a CNI plugin like Calico for pod networking.
Finally, join each worker node to the cluster using the kubeadm join command generated during initialization, and verify all nodes show Ready with kubectl get nodes. The entire Kubernetes setup typically takes 20–30 minutes across a small cluster.
Minimum Requirements Per Node
- Control plane node: 2 CPUs, 2 GB RAM minimum (4 GB+ recommended for production)
- Worker nodes: 2 CPUs, 2 GB RAM minimum, scaled up based on workload
- A Linux distribution supported by kubeadm (Ubuntu 24.04/26.04 LTS)
- Full network connectivity between all nodes, with unique hostnames, MAC addresses, and product_uuid for each
- Swap disabled on every node; this is a hard requirement for kubelet to function correctly
Step 1: Prepare Every Node (Control Plane and Workers)
Run these steps identically on every machine that will join the cluster.
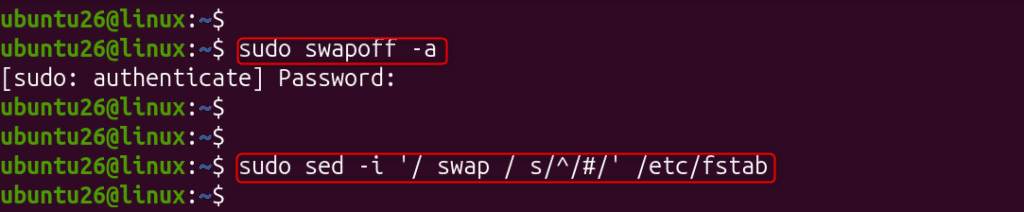
Disable Swap
Kubelet can’t reliably enforce memory limits or evict pods under pressure if swap is active, so Kubernetes requires it to be off before the cluster will even initialize.
sudo swapoff -a
sudo sed -i '/ swap / s/^/#/' /etc/fstab
Load Required Kernel Modules
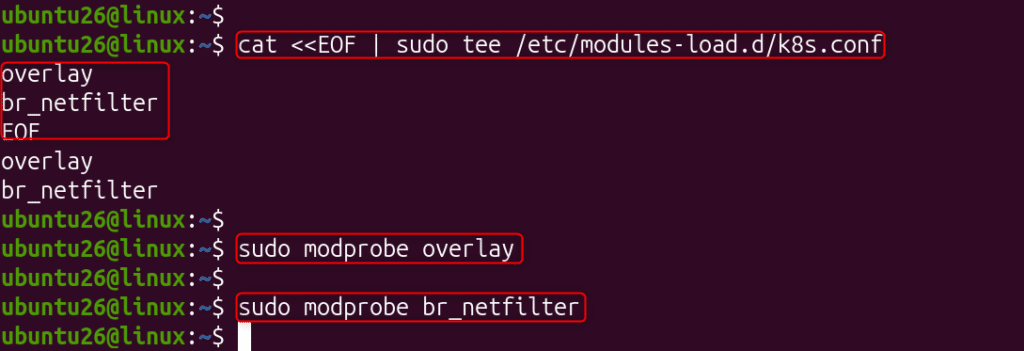
The overlay module enables containerd’s layered filesystem, and br_netfilter lets bridged network traffic be seen and filtered by iptables; both are required for pod networking to function.
cat <<EOF | sudo tee /etc/modules-load.d/k8s.conf
overlay
br_netfilter
EOF
sudo modprobe overlay
sudo modprobe br_netfilter
Configure Required sysctl Parameters.
These settings ensure that iptables processes traffic crossing network bridges and that the kernel forwards packets between pods, which Kubernetes networking depends on.
cat <<EOF | sudo tee /etc/sysctl.d/k8s.conf
net.bridge.bridge-nf-call-iptables  = 1
net.bridge.bridge-nf-call-ip6tables = 1
net.ipv4.ip_forward                 = 1
EOF
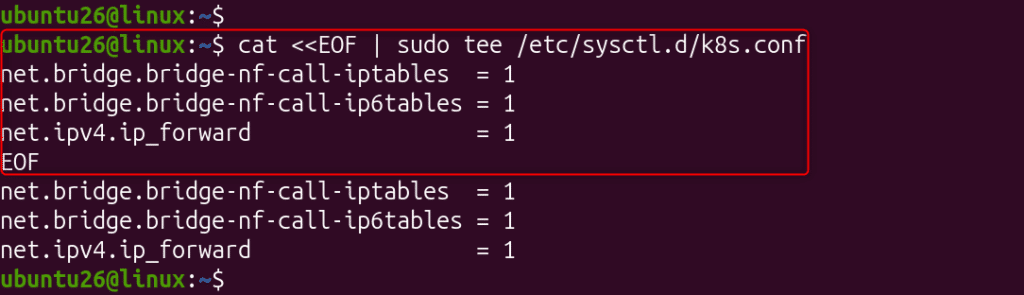
These settings ensure traffic crossing network bridges is correctly processed by iptables, which Kubernetes networking depends on.
Step 2: Install a Container Runtime
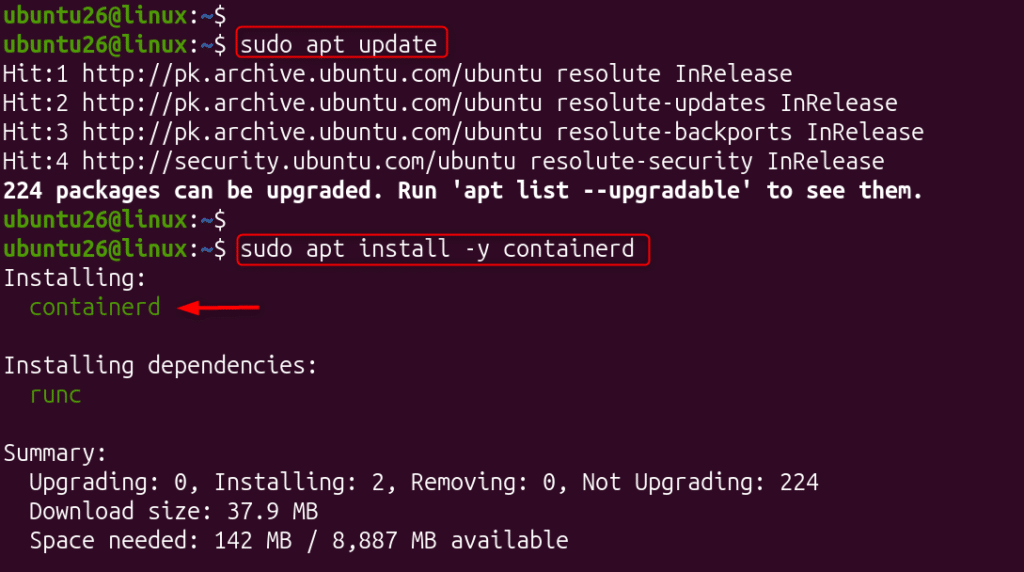
Kubernetes needs a container runtime that implements the Container Runtime Interface (CRI). containerd is the current standard choice.
sudo apt update
sudo apt install -y containerd
Generate and apply the default configuration:
sudo mkdir -p /etc/containerd
containerd config default | sudo tee /etc/containerd/config.toml
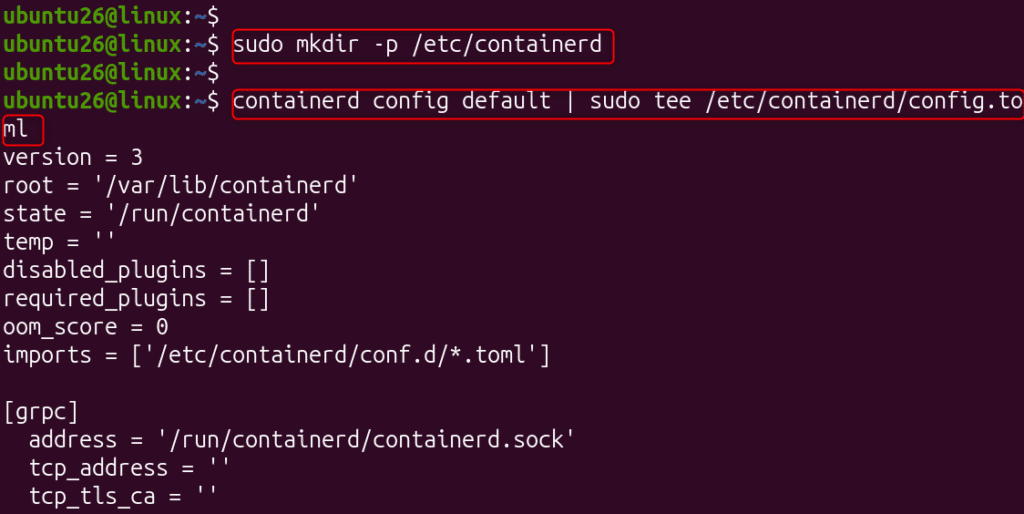
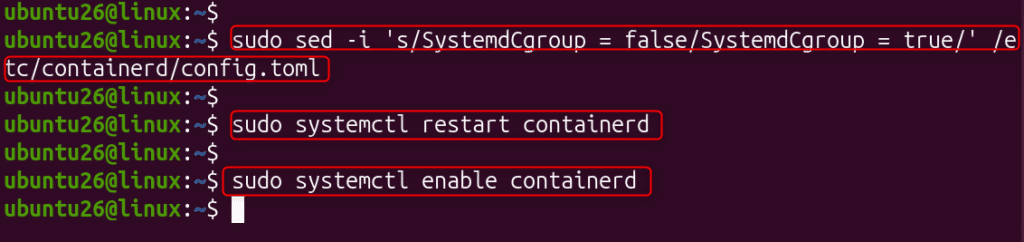
Then enable systemd cgroup management (required for kubelet compatibility):
sudo sed -i 's/SystemdCgroup = false/SystemdCgroup = true/' /etc/containerd/config.toml
sudo systemctl restart containerd
sudo systemctl enable containerd
Step 3: Install kubeadm, kubelet, and kubectl
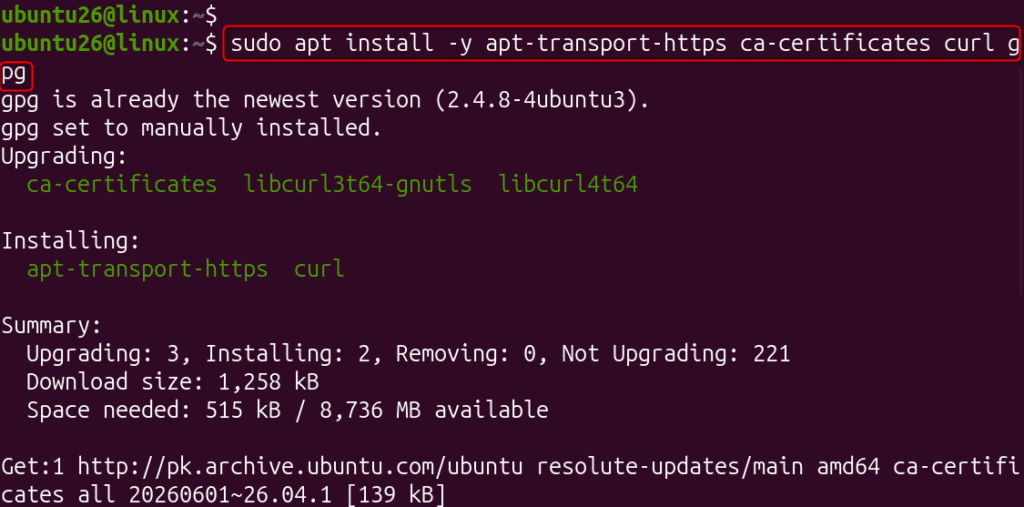
Before adding the official Kubernetes APT repository, let’s install some dependencies:
sudo apt install -y apt-transport-https ca-certificates curl gpg
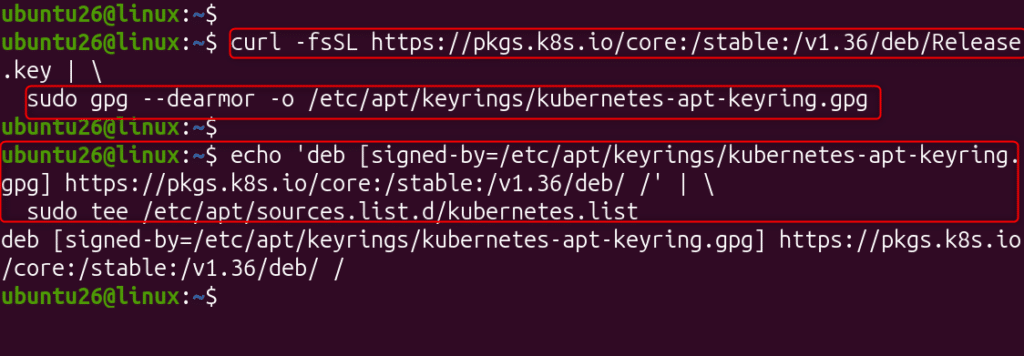
Now, add the official Kubernetes APT repository and install the tooling:
curl -fsSL https://pkgs.k8s.io/core:/stable:/v1.36/deb/Release.key | \ sudo gpg --dearmor -o /etc/apt/keyrings/kubernetes-apt-keyring.gpg
echo 'deb [signed-by=/etc/apt/keyrings/kubernetes-apt-keyring.gpg] https://pkgs.k8s.io/core:/stable:/v1.36/deb/ /' | \ sudo tee /etc/apt/sources.list.d/kubernetes.list
Finally, install kubeadm, kubelet, and kubectl as below:
sudo apt update
sudo apt install -y kubelet kubeadm kubectl
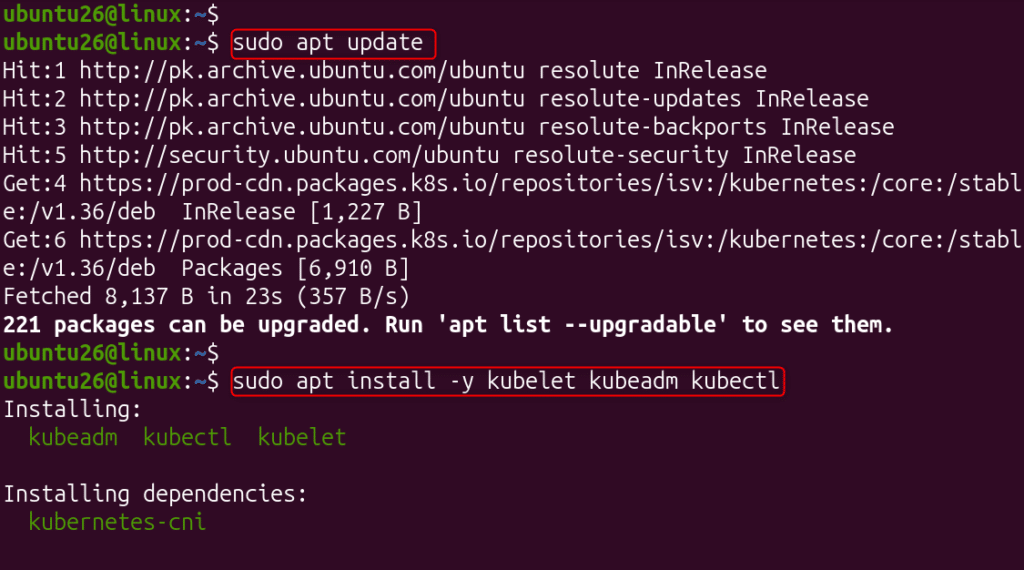
apt-mark hold prevents these packages from being upgraded automatically during routine apt upgrade runs. Kubernetes upgrades should always be deliberate, one minor version at a time.
sudo apt-mark hold kubelet kubeadm kubectl

Step 4: Initialize the Control Plane
Run this step only on your designated control plane node:
sudo kubeadm init --pod-network-cidr=192.168.0.0/16
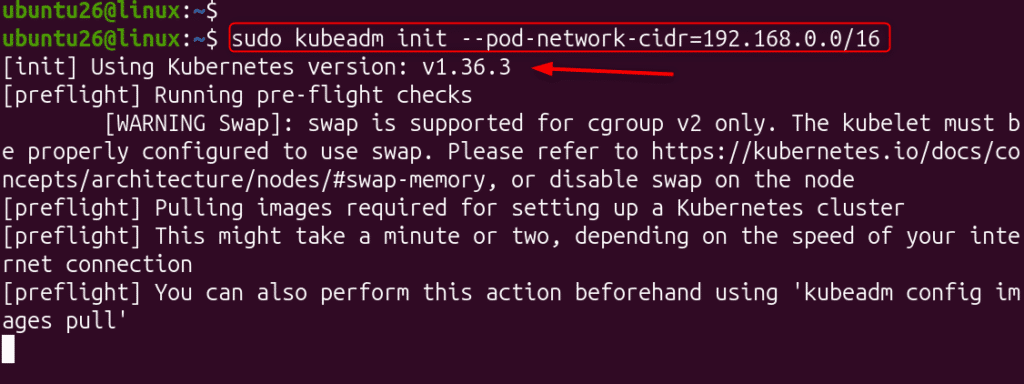
The --pod-network-cidr value must match what your chosen CNI plugin (Calico, in this guide) expects.
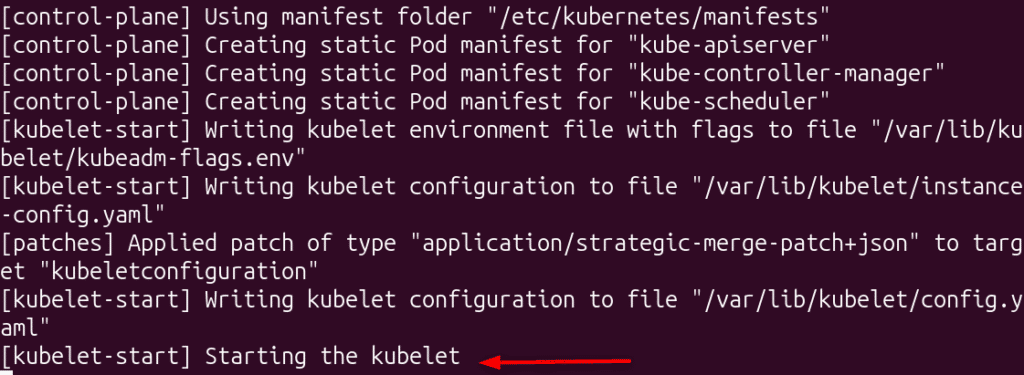
This step takes a few minutes and, on success, prints a kubeadm join command containing a token; save this immediately, since the token expires after 24 hours.
Configure kubectl Access
kubeadm init generates the cluster’s admin credentials in a root-owned file, so this copies them into your user’s home directory and fixes ownership, letting you run kubectl commands without sudo every time.
mkdir -p $HOME/.kube
sudo cp -i /etc/kubernetes/admin.conf $HOME/.kube/config
sudo chown $(id -u):$(id -g) $HOME/.kube/config

Verify the control plane is responding:
kubectl get nodes

The control plane node will show as NotReady at this point. This is expected until the Calico CNI plugin is installed successfully.
Step 5: Install a Pod Network Add-on (Calico)
Kubernetes doesn’t ship with built-in pod networking; you need a CNI plugin. Calico 3.32.1 is a current release tested with Kubernetes 1.34, 1.35, and 1.36, making it a suitable choice for this guide.
kubectl apply -f https://raw.githubusercontent.com/projectcalico/calico/v3.32.1/manifests/calico.yaml
Give it a minute, then verify:
kubectl get pods -n kube-system
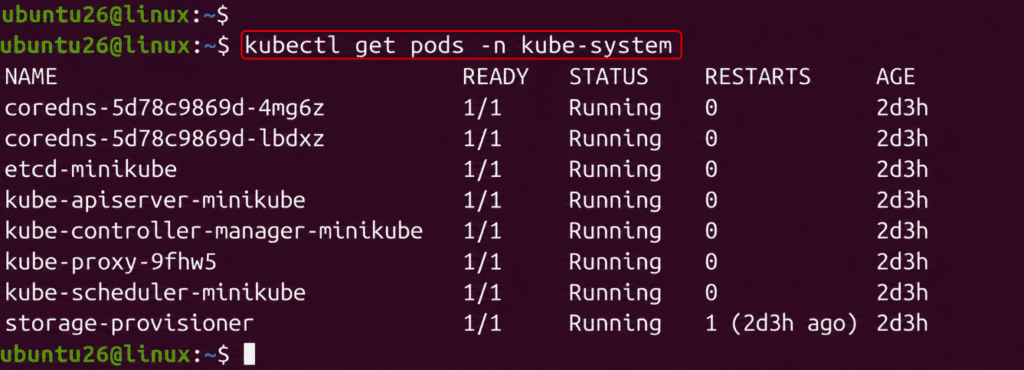
Your control plane node should now show Ready after Calico installation.
Note: This guide uses the manifest-based installation because it is straightforward for learning and small clusters. For production environments, Project Calico recommends the operator-based installation, which provides easier lifecycle management and upgrades.
Step 6: Join Worker Nodes to the Cluster
On each worker node, run the join command you saved from Step 4:
sudo kubeadm join <control-plane-ip>:6443 --token <token> \ --discovery-token-ca-cert-hash sha256:<hash>
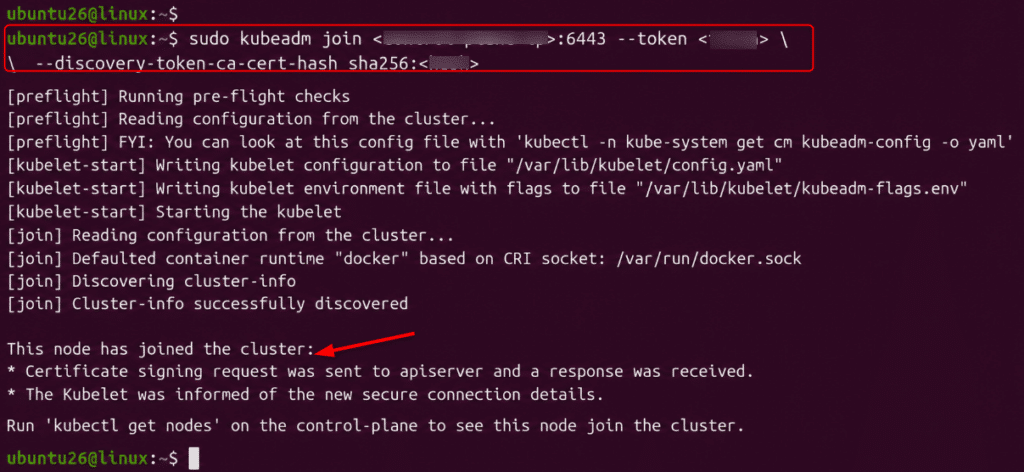
If your token has expired, generate a new one from the control plane:
kubeadm token create --print-join-command
Back on the control plane, confirm all workers have joined successfully:
kubectl get nodes
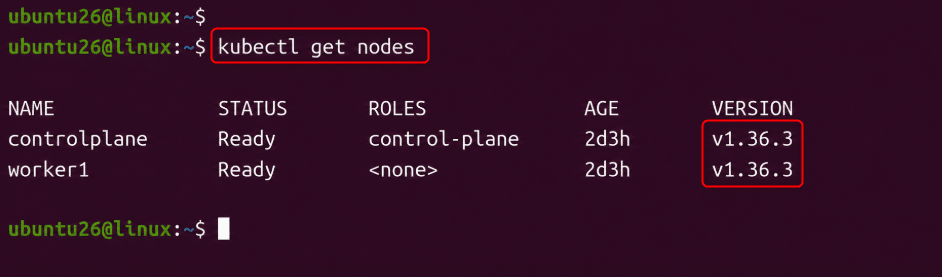
All nodes should eventually show Ready once the CNI has propagated to them.
Step 7: Deploy a Test Workload
Confirm the cluster is fully functional by deploying something real:
kubectl create deployment nginx --image=nginx --replicas=3
kubectl expose deployment nginx \ --type=NodePort \ --port=80
kubectl get deployments
kubectl get pods -o wide
kubectl get services
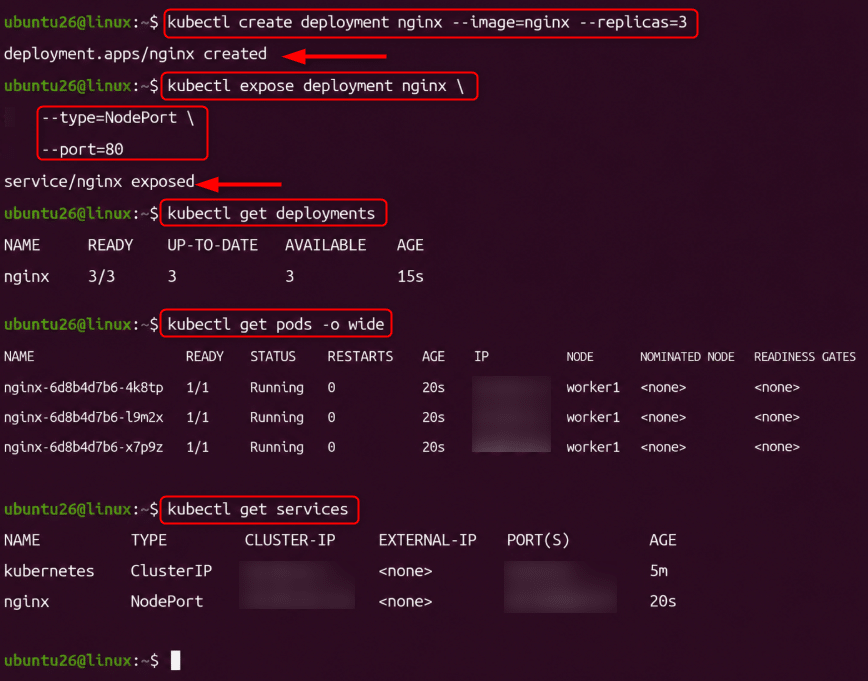
The kubectl expose command creates a NodePort Service that exposes the Nginx deployment outside the cluster. After the pods are running, note the assigned NodePort from kubectl get services and test connectivity from any system that can reach a worker node.
Use the assigned NodePort to verify that the application is accessible from outside the cluster:
curl http://<worker-node-ip>:<node-port>
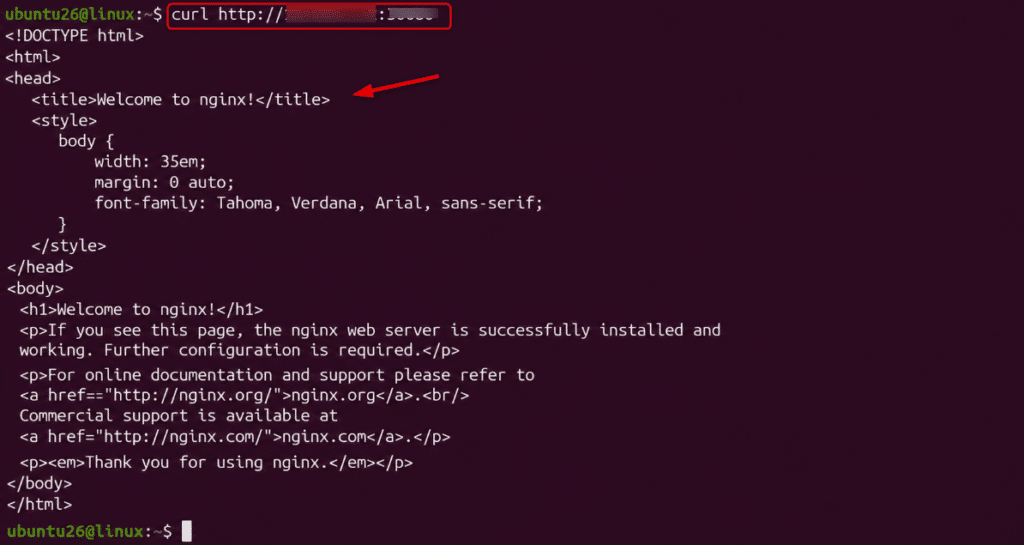
If the default Nginx page is returned, the deployment, networking, and Service are functioning correctly.
Adding GPU Support for ML/AI Workloads
If you’re running machine learning inference or training workloads, GPU-enabled worker nodes need extra setup beyond a standard join. On any worker node built on a GPU-dedicated server, install the appropriate NVIDIA drivers first, then deploy the NVIDIA device plugin so Kubernetes can schedule GPU resources:
kubectl apply -f https://raw.githubusercontent.com/NVIDIA/k8s-device-plugin/main/nvidia-device-plugin.yml
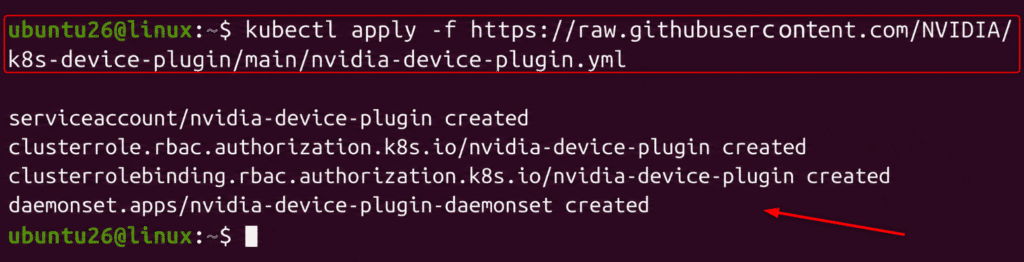
Once deployed, GPU resources become schedulable in your pod specs via resources.limits.”nvidia.com/gpu”, letting you target GPU-equipped nodes specifically for ML workloads while keeping general-purpose services on standard nodes.
Troubleshooting Common Cluster Build Issues
- Node stuck in NotReady: Almost always means the CNI plugin isn’t fully deployed yet. Check with kubectl get pods -n kube-system and look for CrashLoopBackOff on Calico pods.
- kubeadm join fails with a certificate error: Your join token or CA cert hash has likely expired. Generate a fresh one with kubeadm token create –print-join-command on the control plane.
- Pods stuck in Pending: Usually a resource constraint or a taint on your control plane node prevents scheduling. Check with kubectl describe pod <pod-name> for the exact reason.
- kubelet won’t start: Check that swap is actually disabled (free -h should show 0 under swap) and review logs with journalctl -u kubelet -f.
Conclusion
Building a Kubernetes cluster with kubeadm comes down to a consistent sequence: prepare every node identically, install a container runtime, bootstrap the control plane, install pod networking, then join your workers one at a time. The tooling handles most of the complexity for you; the parts that actually require judgment are your infrastructure choices up front, whether that’s picking reliable dedicated server hosting for consistent performance or provisioning a GPU dedicated server for ML workloads, and your operational discipline afterward around etcd backups, RBAC, and high availability. Get those right, and the cluster itself becomes the easy part.
FAQs
1. How many nodes do I need to build a Kubernetes cluster?
A minimum of two: one control plane node and one worker node. For production use, most teams run at least one control plane node and two or more worker nodes, and ideally multiple control plane nodes for high availability.
2. Why does Kubernetes require swap to be disabled?
Kubelet is designed to manage memory resources predictably, and swap interferes with its ability to enforce memory limits and evict pods correctly under pressure. Because of this, kubeadm init and kubeadm join will fail outright if swap is still enabled.
3. What’s the difference between kubeadm, kubelet, and kubectl?
kubeadm is the tool used to bootstrap and join cluster nodes. kubelet is the agent that runs on every node and actually manages containers based on instructions from the control plane. kubectl is the command-line client you use to interact with and manage the cluster once it’s running.
4. Why do I need a CNI plugin like Calico after running kubeadm init?
Kubernetes doesn’t include built-in pod-to-pod networking; that’s intentionally left to a separate Container Network Interface (CNI) plugin. Without one installed, nodes will stay stuck in a NotReady state indefinitely, since the cluster has no way to route traffic between pods.
5. Why do my worker nodes fail to join or stay NotReady after joining?
The two most common causes are an expired kubeadm join token (tokens expire after 24 hours; generate a new one with kubeadm token create –print-join-command) and a firewall blocking required ports between nodes, such as Ubuntu’s ufw blocking port 6443 or the kubelet port 10250.